
Heat Pump Installation: What to Expect
Replacing your HVAC system is a huge investment. So, it helps to know what the process looks like before anyone starts moving equipment.
The process includes having a contractor look at your home, size the equipment correctly, review the existing ductwork and electrical setup, remove the old system, install the new one, test performance, and walk you through how everything works.
If you’re searching for heat pump installation near me, your goal should be finding someone who is transparent about the process and detail-oriented so your system is set up for the way your home runs.
In-Home Consultation
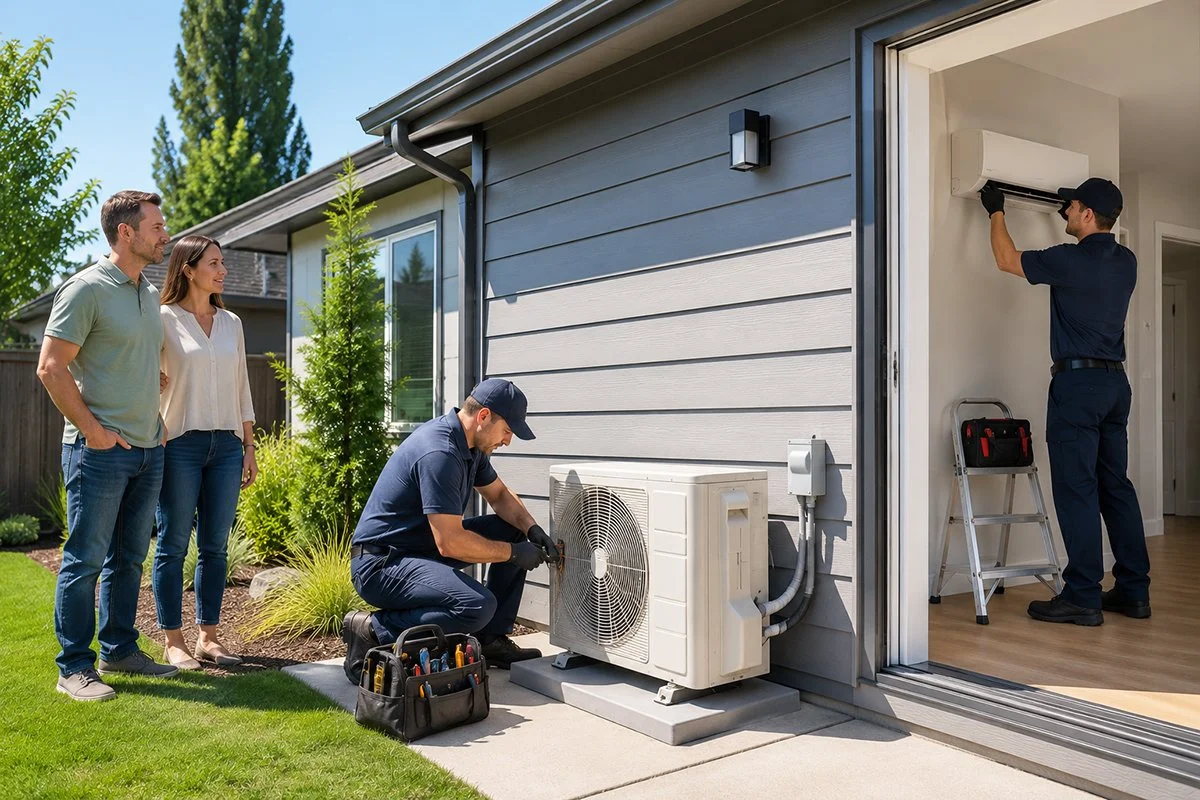
The first step is typically an in-home consultation.
The contractor will take a look at the old unit and ask you questions, like how your home feels in summer or winter, or which rooms aren’t getting to temperature.
The ultimate goal should be getting your HVAC system to operate more quietly, more consistently, and with better efficiency.
The inspection can sometimes take a bit of time. The contractor should be looking at all of the components, including your indoor unit, outdoor unit, thermostat, ductwork, electrical connections, and any visible issues that could impact the installation of the new unit.
With a proper home evaluation, they should be able to get the proper sizing as well. An inexperienced contractor might just use the old system for size reference, but that isn’t always the right move, especially if you’ve made any upgrades or changes over the years. This can include adding insulation, layout add-ons, windows, etc.
A positive early visit will really set the tone for the rest of the job.
Choosing the Right Heat Pump
Choosing the right heat pump starts with size.
If the system is too small, it’ll likely run constantly while still struggling to heat or cool the home. If it’s too big, it might short cycle or waste energy.
Beyond size, efficiency is key. But this also needs context. Higher-efficiency equipment can certainly lower operating costs, but you may not need a top-of-the-line, ultra-efficient system if you aren’t running it much or if you have a limited upfront budget.
There are a few features you can look for in newer systems that we’d recommend:
Variable-speed operation
Quiet outdoor unit operation
Enhanced humidity control
Smart thermostat options
That doesn’t mean a simpler system provides less value, but features that improve comfort, convenience, and efficiency may be worth it.
It’s so easy to get stuck on brand names when comparing best home heat pumps or best heat pump systems. And while a brand can tell you a lot about the quality, it’s just as important to get proper installation and sizing.
All in all, a good contractor should explain your options clearly so you can confidently choose the equipment that fits the home best.
Preparing for Installation Day
A little preparation goes a long way on installation day.
Make sure the crew has access to the indoor and outdoor equipment before they arrive. That means moving items out of the way of the furnace and making sure there’s a clear path in the parts of your house they need to reach, like the attic or crawlspace.
If you have an outdoor unit, move patio furniture or plants out of the way.
During the installation process, the crew will probably be moving in and out of the house and making a lot of noise, so if you have pets, keep them in a safe room or have them stay with someone else for the day.
Confirm the schedule with the crew ahead of time and see if they can send you a heat pump installation timeline, so you know how long the work is expected to take and whether someone needs to be home for the full visit.
What to Expect During Heat Pump Installation Process
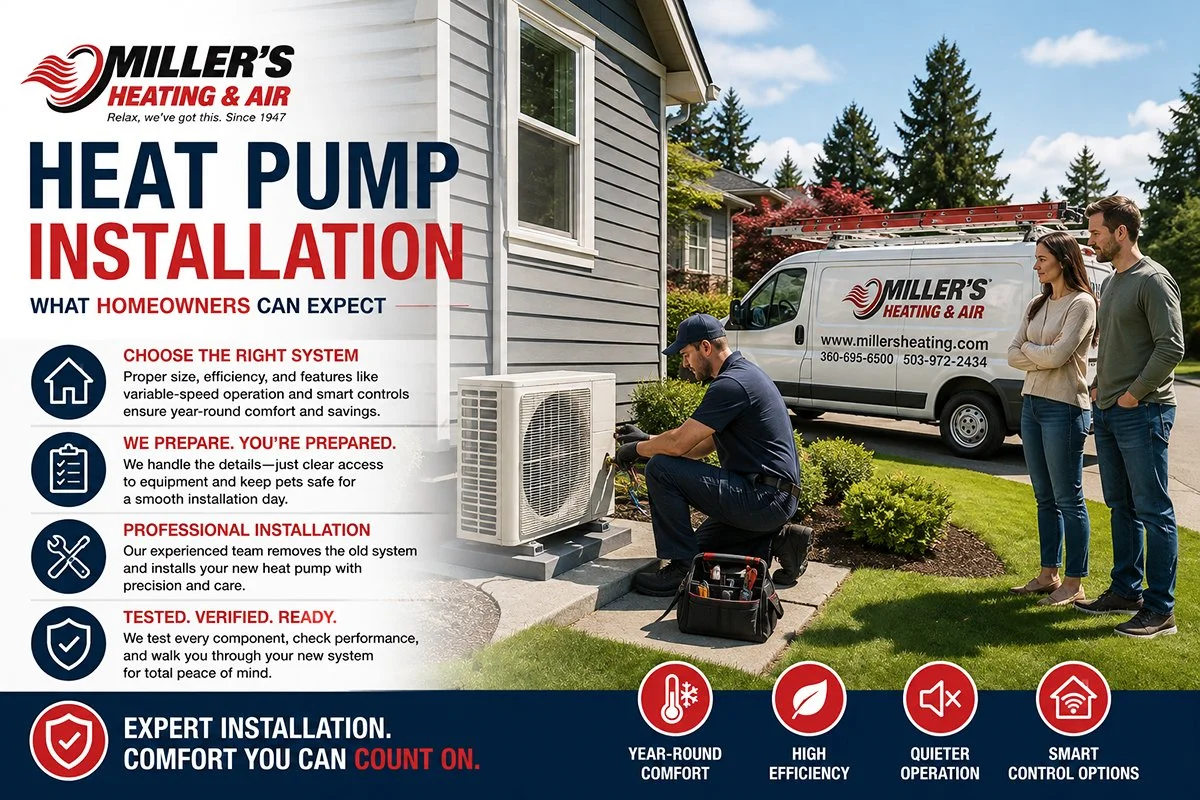
On installation day, our team typically arrives between 8:00 and 10:00 a.m. We’ll send you a text and/or email when the installation team is on the way, so you know when to expect us.
Removing the old equipment is typically the first step in a new heat pump installation.
If you’re replacing an old heat pump, the crew will disconnect and remove the old system components to prep the space for the new one. Once it’s in place, they’ll connect everything (electrical wiring, drainage, thermostats, etc.).
Most standard installations can be completed in one day. More complex installations may require additional time.
System Startup and Testing
With your equipment installed, the contractor will start it up and test it.
They’ll verify that it’s working properly and moving enough air. They should be able to test the controls with you to confirm that every component of the system is operating according to manufacturer specs.
A good contractor will likely let the system run for a bit and perform tests. You don’t want a contractor to turn on the system and leave right away. It might run, but it doesn’t mean it’s performing correctly.
Final Walkthrough
During the final walkthrough, the contractor should tell you everything you need to know to run the system properly. This means knowing how to operate the thermostat, switch modes, adjust settings, and replace or check the filter. If your system has new features you don’t know about because they weren’t included in your old system, they should explain those too.
This is a great time to ask questions, like:
How often should I check the filters?
What potential issues should I look out for?
When should I schedule service?
They should also give you info about manufacturer warranties as well. Some manufacturers require you to register your system within a certain amount of time, so it’s important to know upfront.
Once your new system is installed, there are still a few things we take care of for you. Every new system installation automatically includes one free year on Miller’s maintenance plan, helping make sure your system receives its initial maintenance one year after installation.
We’ll also process any applicable rebates associated with your installation and coordinate and schedule any required inspections. That means you don’t have to figure out those final steps on your own.
After the Installation
Some contractors will recommend a follow-up inspection or a maintenance schedule.
Heat pumps run in the summer and winter, so they need regular service to run optimally.
If you had comfort problems before installation, pay attention to how the home feels afterward. You might need a few small adjustments once the system is up and running, and that’s not unusual.
Choosing the Right Heat Pump Contractor
With professional Vancouver heat pump installation, you can optimize your comfort and the lifespan of your equipment.
Make sure to look for a contractor that offers a true home evaluation, transparent communication, careful installation, and follow-up testing.
Your heat pump isn’t a small investment, and we want to make sure that you’re investing in it confidently.